Starting with a basic lobe or nostril stud gets your foot in the door, but treating your skin like a custom blueprint opens up far more exciting possibilities. If you're ready to go beyond the basic placements, our piercing offerings use your body's subtle cartilage folds, skin tension, and bone contours as the starting point for entirely original setups.
This guide walks through some of the most distinctive placements available today — from the anti-tragus to the hidden helix, vertical labrets, and single-point dermal anchors — along with the anatomical requirements, jewelry choices, and healing timelines that come with each one. Whether you're planning your fifth piercing or your first move past the lobe, understanding how your own structure supports a style keeps the process safe, comfortable, and built to last.
Anatomy-First Piercing: Why Your Structure Rules the Needle
A piercing only looks as good as the anatomy underneath it. You might love a picture on social media, but your cartilage ridges and tissue flexibility dictate what can safely heal on your frame. A seasoned piercer views your body through a structural lens, checking tissue depth, surface tension, and angle viability long before reaching for a marker.
Anatomical evaluation balances three core physical parameters:
-
Cartilage Ridge Pliability (Ear/Nose): Determines needle angle feasibility and gauge stability.
-
Lip and Tissue Depth (Facial/Oral): Controls internal clearance and keeps metal off your gums and tooth enamel.
-
Skin Surface Tension (Dermal/Surface): Dictates long-term anchor retention and wards off rejection.
During a consultation for professional body piercing offerings at Club Tattoo, our team checks these physical details to guarantee long-term stability. An industrial piercing, for example, needs a distinct, prominent fold on both the forward and outer helix. Forcing a straight barbell across a shallow helix applies constant leverage to the tissue, causing painful migration or permanent scarring.
Jewelry selection ties directly into this anatomical assessment. Fresh piercings need extra length on posts or wider ring diameters to accommodate early swelling. Skipping your downsizing appointment leaves excess length exposed, inviting snags, irritation bumps, and shifted healing angles.
Unique Ear Piercing Types: Beyond the Lobe and Standard Helix
The human ear features a dense network of avascular cartilage, giving you plenty of negative space and natural folds to play with.
The Anti-Tragus
-
Placement & Mechanics: Sits directly opposite the tragus on the raised cartilage ridge above the earlobe, requiring a distinct, raised pocket of tissue.
-
Jewelry & Sizing: Pierced at 16g or 14g using a curved barbell or small labret post.
-
Healing Expectations: 6 to 12 months. This dense cartilage encounters friction from high collars and phones, requiring strict hands-off care.
The Deep Daith
-
Placement & Mechanics: Sits in the innermost cartilage fold above the ear canal entrance, requiring precise alignment so jewelry lies flat against the ear.
-
Jewelry & Sizing: 16g or 14g capture rings, seam rings, or ornate clickers.
-
Healing Expectations: 6 to 9 months. Keep earbuds out of the ear while tissue stabilizes.
The Snug (Anti-Helix)
-
Placement & Mechanics: Passes horizontally through the inner cartilage ridge above the anti-tragus.
-
Jewelry & Sizing: Typically pierced at 16g with a short curved barbell.
-
Healing Expectations: 8 to 12+ months. High cartilage density makes this placement prone to prolonged localized swelling.
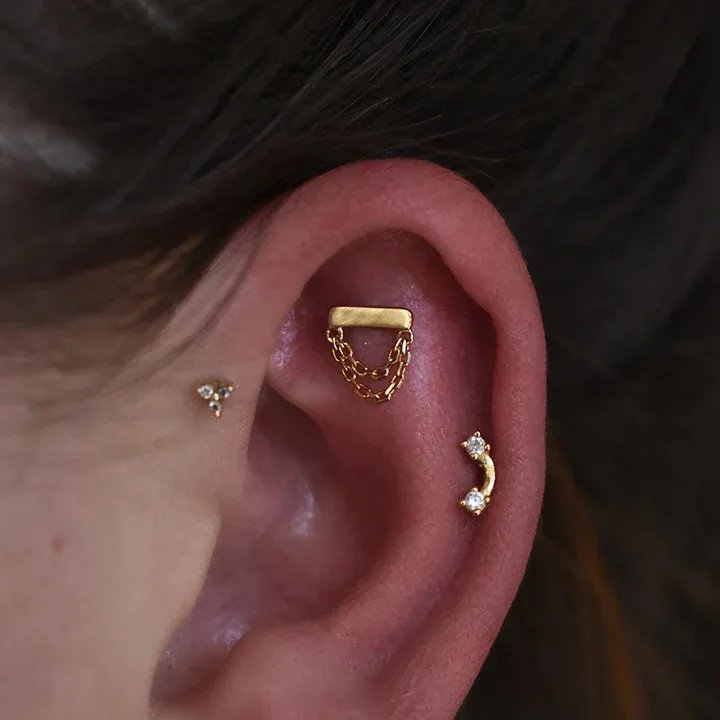
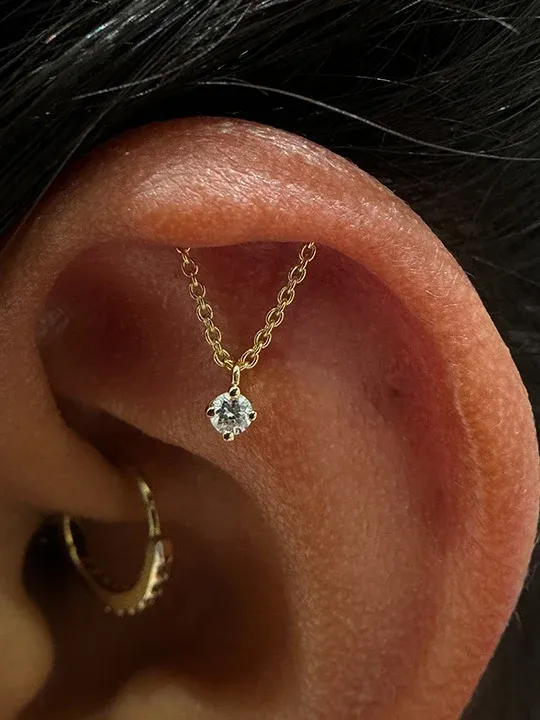
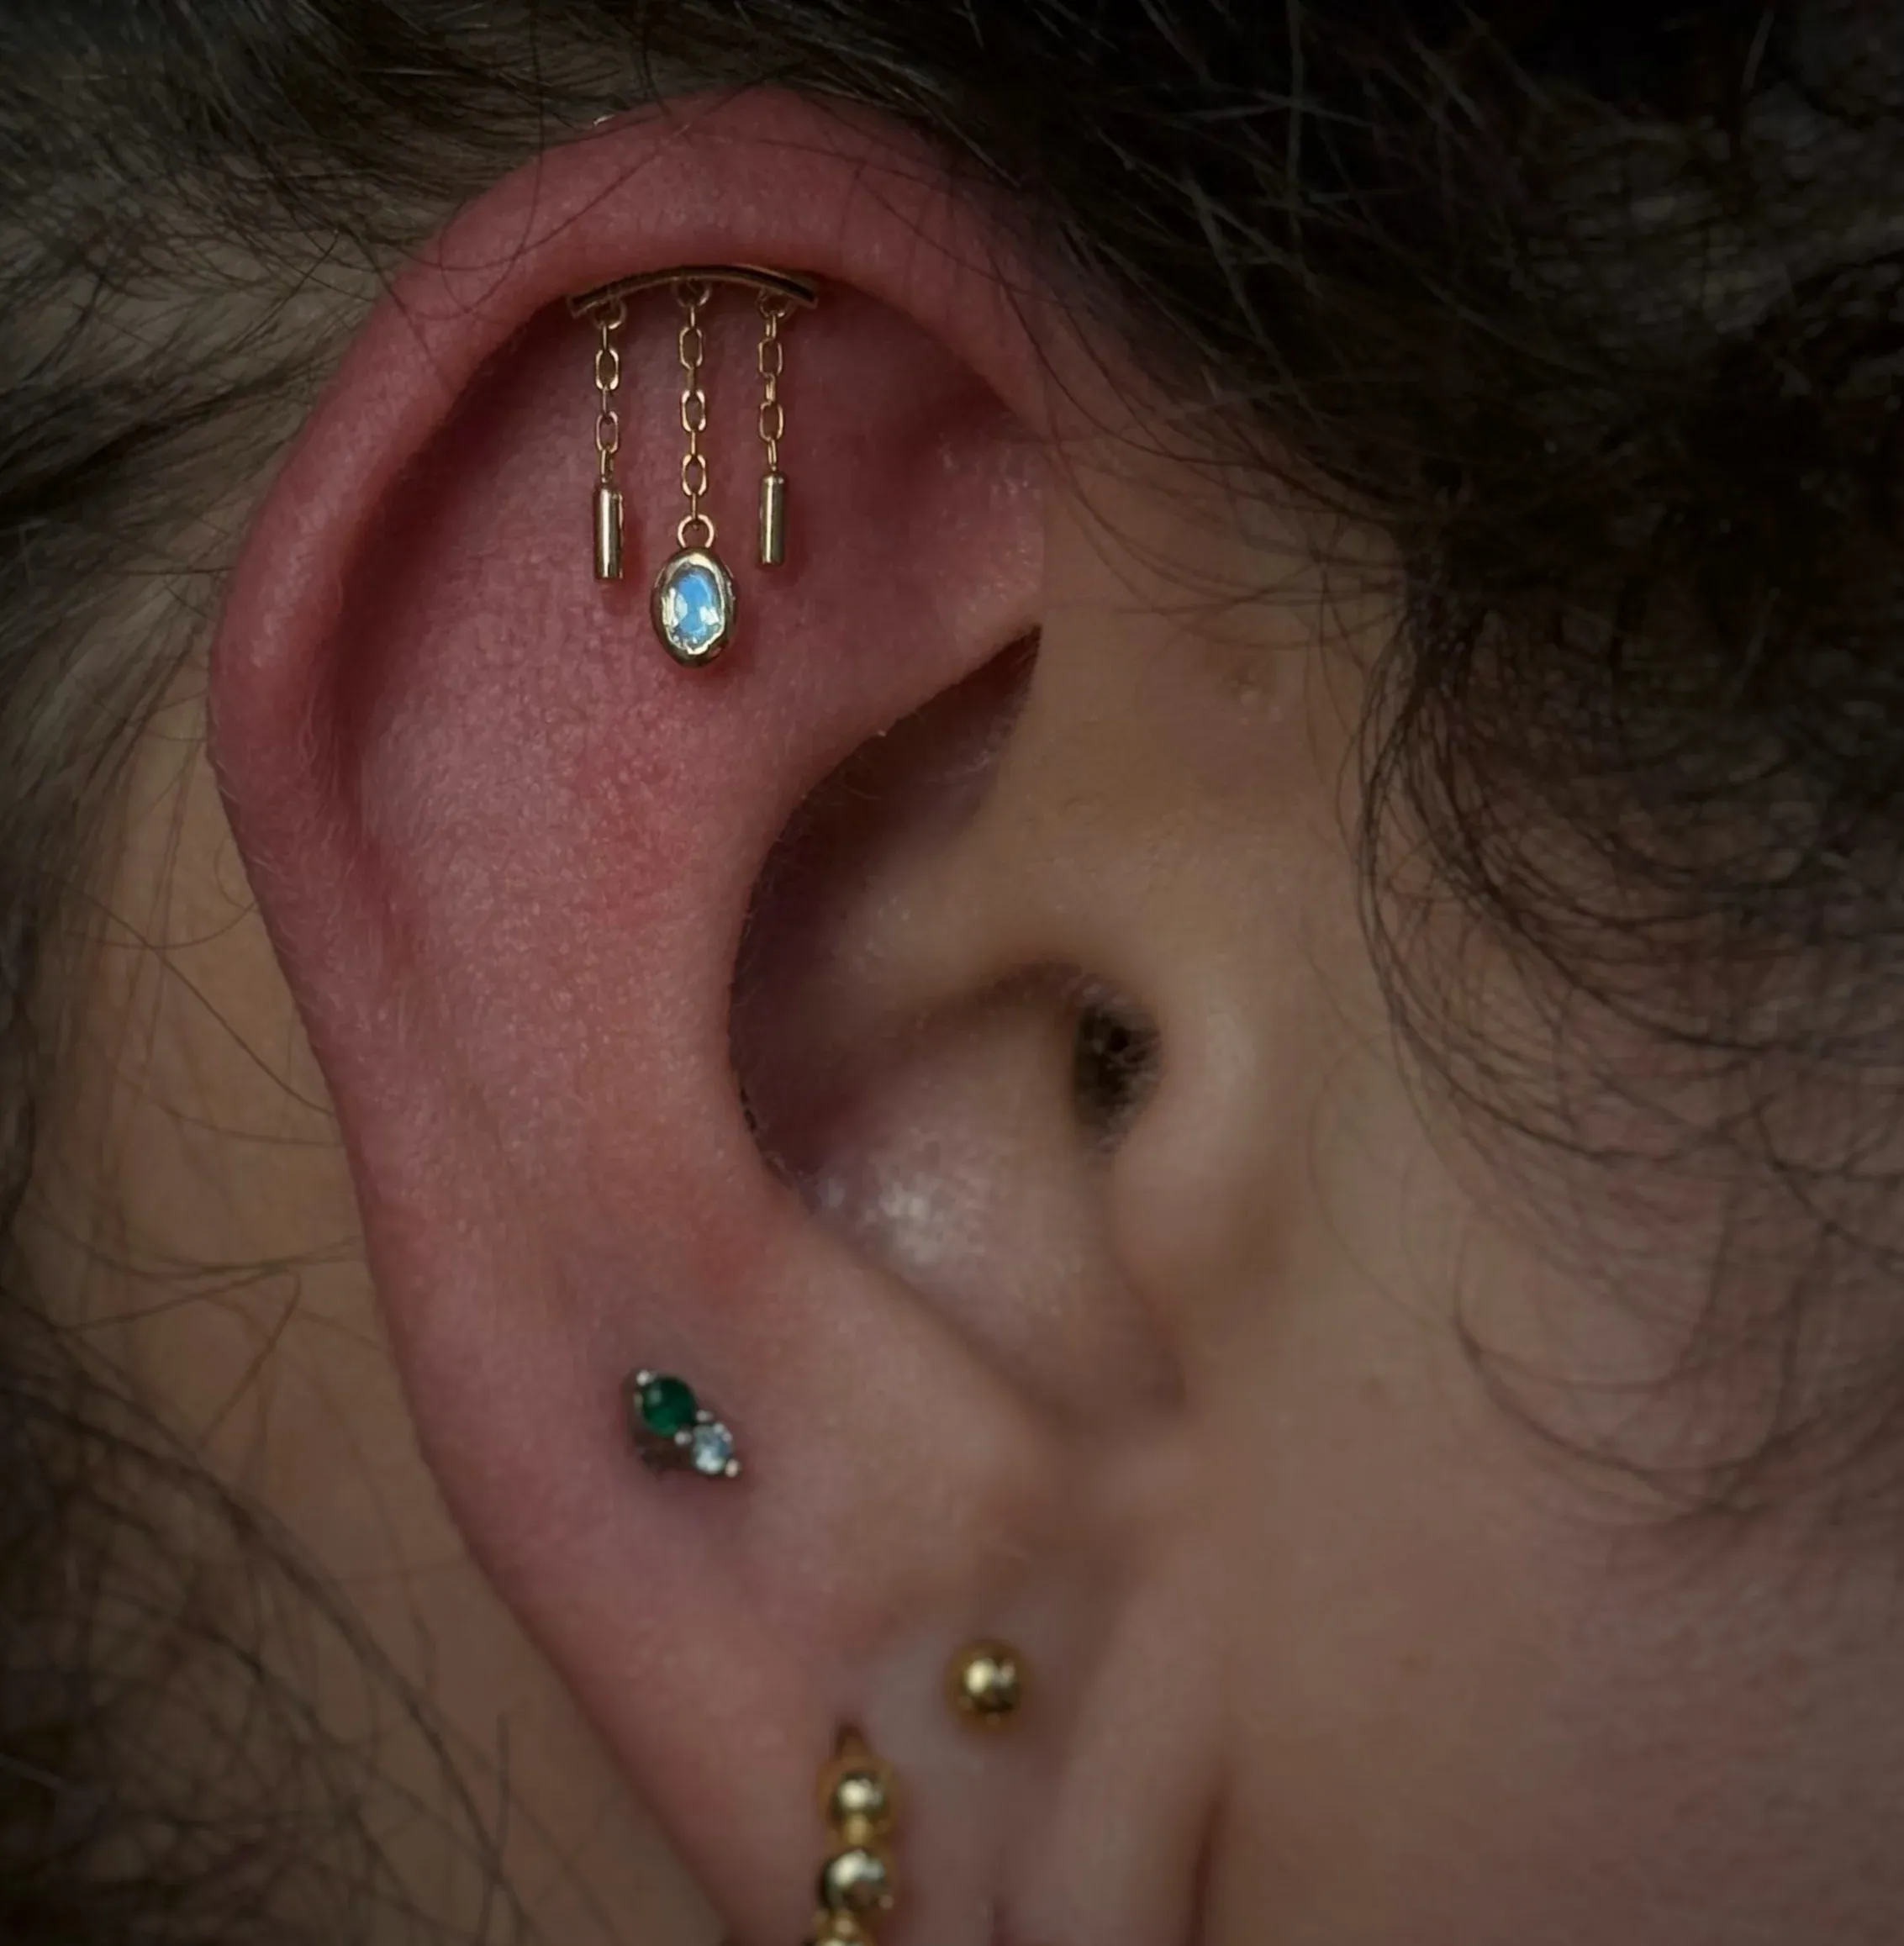
The Hidden Helix
-
Placement & Mechanics: Tucked high under the upper rim fold of the ear, completely concealing the entry point and initial jewelry post.
-
Jewelry & Sizing: Accommodates 18g or 16g threadless labrets with dangling chains or drop gems.
-
Healing Expectations: 6 to 9 months. Hair catching poses the main challenge during early recovery.
Unique Piercing Types: Healing & Anatomy Profile
|
Piercing Name |
Exact Placement |
Anatomy Requirement |
Primary Jewelry Style |
Avg. Healing Time |
Pain Scale (1–10) |
|
Anti-Tragus |
Cartilage ridge above outer lobe |
Raised, defined cartilage projection |
Curved Barbell / Threadless Post |
6 – 12 Months |
6 / 10 |
|
Hidden Helix |
Upper interior rim fold |
Deep upper helix overhang |
Threadless Post w/ Hanging Chain |
6 – 9 Months |
4 / 10 |
|
Rook |
Upper inner cartilage fold |
Strong, stable cartilage shelf |
Curved Barbell |
6 – 9 Months |
5 / 10 |
|
Vertical Labret |
Lip border through lip tissue |
Defined vermilion border |
Curved Barbell |
8 – 10 Weeks |
4 / 10 |
|
Surface Anchor |
Single-point flat body areas |
Pliable skin over flat bone structure |
Flat-Back Anchor Base w/ Top |
3 – 6 Months |
3 / 10 |
|
High Nostril |
Upper nasal cartilage bridge |
Thin cartilage walls, wide nostril bed |
Extended Threadless Posts |
6 – 12 Months |
7 / 10 |
Distinctive Facial and Lip Placements
Placed with intent, facial piercings bring out your cheekbones, lip line, and eye angles without overshadowing your natural look.
Vertical Labret
Passes directly through the lower lip tissue and exits out the top lip surface. Because metal never enters your mouth, tooth enamel and delicate gums stay out of harm's way. Pierced at 16g using a sleek curved barbell.
The Jestrum (Vertical Philtrum)
Runs vertically through the philtrum notch above your lip, pairing a top gem inside the dip with a lower bead resting on the center of your upper lip. This style demands a distinct philtrum trough and protects your teeth by keeping hardware entirely external.
High Nostril Piercings
Set higher up the nasal bridge than traditional placements, creating a sharp, striking frame when placed symmetrically. These require specialized long tools and extended threadless labrets that you downsize as swelling fades.
Surface Piercings and Single-Point Dermal Anchors
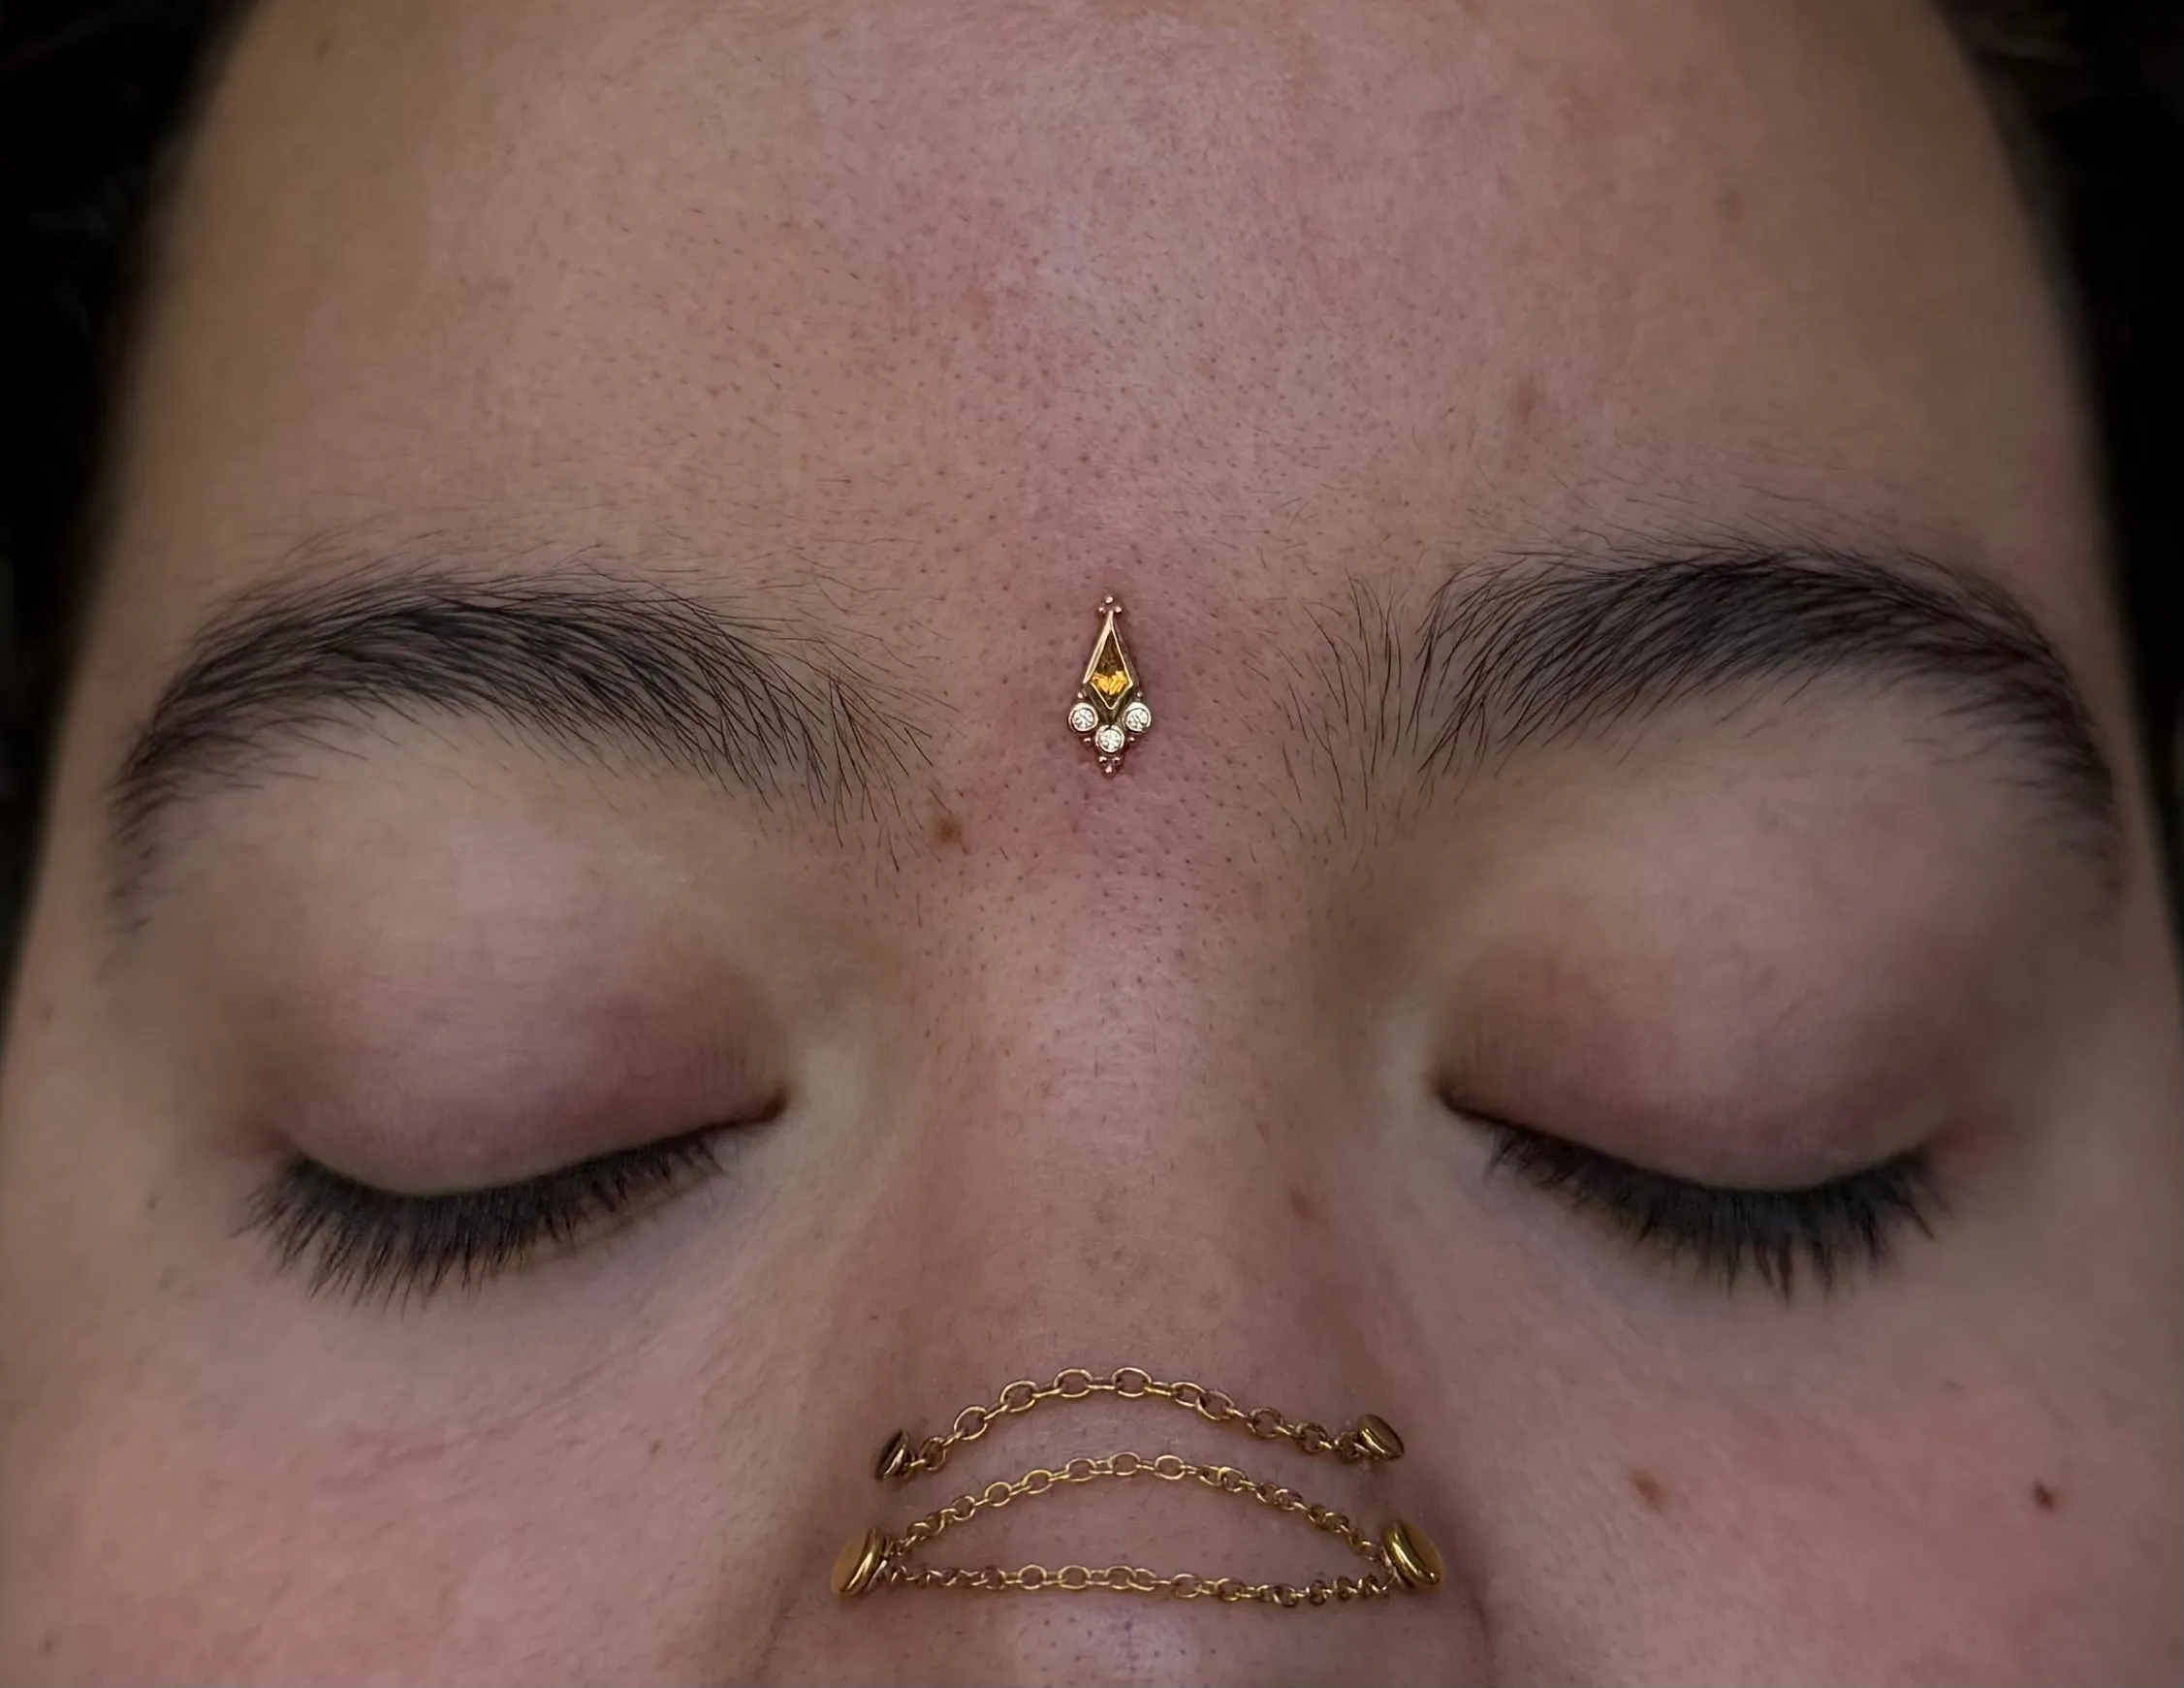
Surface modifications let you place metal on flat areas that lack natural tissue folds, like your sternum, collarbones, or wrists.
-
Surface Barbells: Feature a flat, 90-degree bent bar that rests beneath the skin with two visible top beads. These belong on low-movement zones with generous skin flexibility.
-
Single-Point Dermal Anchors: Rely on a tiny footplate base inserted beneath the dermis with an exposed vertical riser post that accepts interchangeable decorative tops.
To keep rejection at bay, place anchors far from high-friction clothing lines, skip heavy initial tops, and avoid sleeping directly on the anchor base.
Body-Safe Materials: The Foundation of Safe Modification
Your body views fresh jewelry as a foreign object inside an open channel, making material composition critical for clean healing:
-
ASTM F-136 Titanium: Biocompatible, non-porous, and completely nickel-free to support fast tissue recovery.
-
ASTM F-138 Implant-Grade Steel: Surgical-grade metal polished to a mirror finish, ideal for anyone without nickel sensitivities.
-
Solid 14k/18k Gold: Must be nickel-free and unplated to safely sit inside a healing channel.
-
Niobium: Pure metal with properties similar to titanium, offering exceptional flexibility for custom rings.
For a deeper dive into materials, check out our guide on the best jewelry for a new piercing.
Studio Selection and Expert Piercer Assessment
Stepping into advanced body modification demands an uncompromising commitment to safety, technical skill, and transparent client communication. At Club Tattoo, our piercers hold themselves to industry-leading studio standards so you can focus entirely on bringing your vision to life.
-
Verified Sterilization: We maintain rigorous, up-to-date autoclave spore testing logs across all locations to guarantee a sterile environment for every procedure.
-
Anatomy-First Consultations: We provide honest, detailed evaluations before opening a needle. If an anatomy profile won't safely support a specific placement, we work with you to design a viable alternative.
-
Mill-Certified Metals: We exclusively stock initial jewelry crafted from certified implant-grade titanium (ASTM F-136) and nickel-free gold, giving your tissue the cleanest possible environment to heal.
See how our standards translate into custom art across our locations:
-
Explore our Arizona piercer portfolios
-
View our Las Vegas studio portfolios
-
Browse our Texas body piercer galleries
Long-Term Piercing Maintenance
-
Clean with Sterile Saline: Spray 0.9% sodium chloride saline solution onto entry and exit points twice daily. Skip home-brewed salt water, rubbing alcohol, and hydrogen peroxide.
-
Keep the Piercing Dry: Trapped moisture around cartilage folds or dermal bases breeds stubborn irritation bumps. Gently pat the surrounding skin dry with clean paper towels.
-
Hands Off: Leave crusts alone and avoid twisting your jewelry; let debris wash away naturally during saline rinses.
-
Follow Downsizing Schedules: Plan a studio visit 4 to 8 weeks post-procedure to swap swelling posts for shorter, form-fitting hardware.
For a complete breakdown of recovery steps, read our full guide to comprehensive piercing aftercare guidelines.
Curating Your Next Custom Placement
Branching out into lesser-known body piercing types turns a simple addition into a thoughtful visual statement. Respecting your anatomy, insisting on high-purity metals, and staying diligent with aftercare ensures your new placement looks clean and stays healthy for the long haul.
When you're ready to plan your next project, set up a consultation through our online piercing appointment booking system to work directly with a piercer who understands the mechanics of your frame.
Frequently Asked Questions
How do I know if my ear shape supports a rook or industrial piercing?
A piercer will examine your ear structure under direct lighting. A rook requires a distinct inner cartilage shelf with enough depth to hold a barbell without pressing into the ear behind it. An industrial needs two pronounced, aligned rim folds and a flat middle ear cavity that won't rub against the barbell shaft.
Are surface anchors permanent?
No. They are long-term temporary modifications that typically last between one and five years based on placement and lifestyle. If an anchor shifts or rejects, a piercer can extract the base plate cleanly to minimize scarring.
What is the hardest cartilage piercing to heal?
The snug and anti-tragus take the crown here. Both pass through dense cartilage ridges prone to lingering swelling and friction, frequently taking a full year or longer to settle down completely.
The information provided in this article is for educational purposes only and should not be taken as professional medical advice. While proper care supports an optimal recovery path, individual biology and skin responses vary. If you suspect an infection or experience severe symptoms, consult a licensed healthcare professional immediately.