It's easy to assume a piercing is fully healed once the initial swelling dies down and the outer skin stops flaking. But that false sense of security is exactly why so many cartilage piercings sprout stubborn friction bumps six weeks in.
Every new placement is a controlled puncture wound requiring your body to construct a delicate internal tunnel of skin, called a fistula, from the outside in. Understanding those physiological healing stages and following a comprehensive piercing aftercare guide bridges the gap between a fresh needle pass and a perfectly healed piece.
The Short Answer: Essential Piercing Aftercare & Healing Stages
Piercing recovery occurs in three distinct phases: Inflammatory (days 1–14; swelling, redness, lymph crusties), Proliferative (weeks 2–8+; tissue lining formation, high risk for irritation), and Maturation (months 2–12+; deep tissue strengthening). Your daily piercing aftercare routine requires applying saline piercing spray 2–3 times per day, rinsing thoroughly, and keeping all hands, cosmetics, and sleeping pressure far away from the jewelry.
Breakdown of the Physiological Piercing Healing Stages
Healing happens in layers. While the exterior entrance might look completely settled after a few weeks, the deep internal tissue takes months to construct a permanent, tear-resistant channel around your bar.
| Healing Phase | Approximate Timeline | Common Physical Symptoms | Key Care Focus |
|---|---|---|---|
| 1. Inflammatory | Days 1 – 14 | Localized edema, tenderness, clear/yellowish lymph fluid | NeilMed saline spray via Q-Tip 2–3 times daily; zero touching or twisting. |
| 2. Proliferative (Epithelialization) | Weeks 2 – 8+ | Fading redness, "crusties," itchy skin, fragile fistula | Downsize post length; keep hair and sleeping pressure off area. |
| 3. Maturation (Remodeling) | Months 2 – 12+ (placement dependent) | Channel strengthens, skin shrinks around post, no tenderness | Wear high-quality body jewelry; maintain gentle hygiene. |
Stage 1: The Inflammatory Phase (Days 1 to 14)
The moment an aseptic needle pierces tissue, your immune system launches an immediate defensive response. Blood surges to the site to deliver clotting factors, white blood cells, and nutrients.
Expect mild localized edema (swelling), initial throbbing, warmth, and a slight pink hue around the entry and exit holes. During this stage, your body secretes blood plasma mixed with cellular debris—a clear or straw-colored fluid that dries into hardened yellow crusts, more often called "crusties." They are a sign of natural healing, not an infection.
Stage 2: The Proliferative Phase (Weeks 2 to 8+)
During this stage, your body actively builds the fistula. Skin cells (epithelial tissue) crawl along the metal post from the outside edges, attempting to line the raw interior channel.
This is the most dangerous stage for long-term recovery, not because of infection, but because of false confidence. The surface pain vanishes, redness fades, and the area might feel great. However, the newly formed cellular tunnel is still paper-thin. Twisting your labret, picking off dried lymph with dirty fingernails, or changing jewelry prematurely tears this fragile lining, forcing your body to restart Stage 1 and potentially creating ugly scar tissue.
Stage 3: The Maturation and Remodeling Phase (Months 2 to 12+)
In this final phase, the internal wall of the fistula thickens, strengthens, and contracts tightly around the post. The tissue transforms from fragile granulation cells into resilient collagen.
The duration of this phase depends heavily on vascularity:
- Soft Tissue (Earlobes, Septum): Heals quickly (typically 2 to 4 months) thanks to rich blood supply.
- Cartilage Piercing Healing (Helix, Conch, Tragus, Nostril): Requires 6 to 12+ months. Cartilage lacks direct blood vessels, relying on surrounding perichondrium for nutrients, making cartilage piercing healing a long game that requires consistent patience.
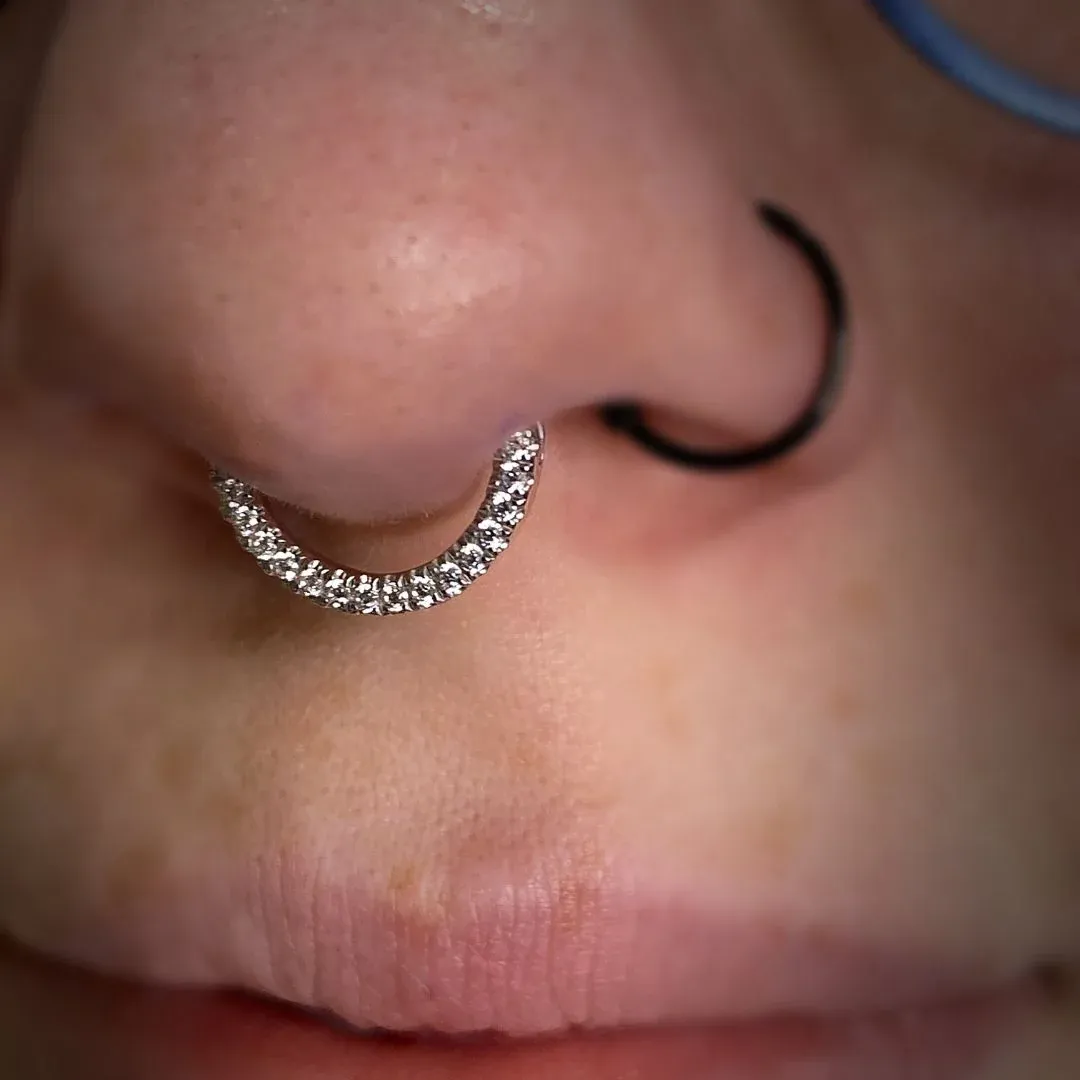
Daily Aftercare Tips for New Piercings
At Club Tattoo, our aftercare protocols are built on industry standards and medical-grade hygiene. We don't recommend complex DIY home remedies, just a disciplined, sterile routine that gives your body the ideal environment to heal.
The Essential Daily Cleaning Routine
- Wash your hands thoroughly with warm water and antibacterial soap before touching anywhere near your fresh piercing.
- Saturate a Q-Tip with saline. Liberally apply NeilMed saline piercing spray directly onto a clean Q-Tip.
- Gently clean the entry and exit points. Use the saturated Q-Tip to liberally apply the solution around the jewelry, carefully wiping away softened dried lymph fluid 2 to 3 times per day.
- Rinse thoroughly. Let warm tap water cascade gently over the area to rinse away remaining residue.
- Gently pat the area dry. Use a clean paper towel or non-woven gauze pad to pat the surrounding skin dry. Avoid cloth bath towels, as their looped threads can grab jewelry bars and tear delicate tissue.
For a complete care setup tailored by our team, exploring our professional piercing aftercare collection or grabbing a Mad Rabbit aftercare essentials kit gives you balanced solutions formulated specifically for sensitive, healing tissue.
Pro Piercer Troubleshooting: Real-World Tips to Protect Your Piercing
Healing a piercing happens in real life, where everyday habits can sneakily mess with your recovery. Here are a few easy, pro-tested tricks our piercers use to keep friction away from fresh piercings:
- The Travel Pillow Trick: If you sleep on your side and have a new ear cartilage piercing (like a helix, conch, or tragus), rest your ear right in the hole of a donut travel pillow. It keeps your head comfy while taking all the pressure off your jewelry.
- The Wet Hair Hazard: Dripping wet hair hanging over a new ear piercing traps water right behind the flat-back post, which can leave your skin soggy, irritated, and prone to bacteria. Keep your hair pinned back until your ear is totally dry.
- Glasses & Headphones: Give your glasses frames, sunglass arms, and headphone pads a quick wipe with an alcohol pad before putting them anywhere near healing cartilage. If you use over-ear headphones, try using just one earbud on your unpierced side until the initial swelling calms down.
- Block the Makeup & Hairspray: Hairspray, dry shampoo, perfume, and face powders are full of harsh ingredients that can sting and irritate fresh tissue. Shield your new piercing with your hand or a clean paper cup whenever you are doing your hair or makeup.
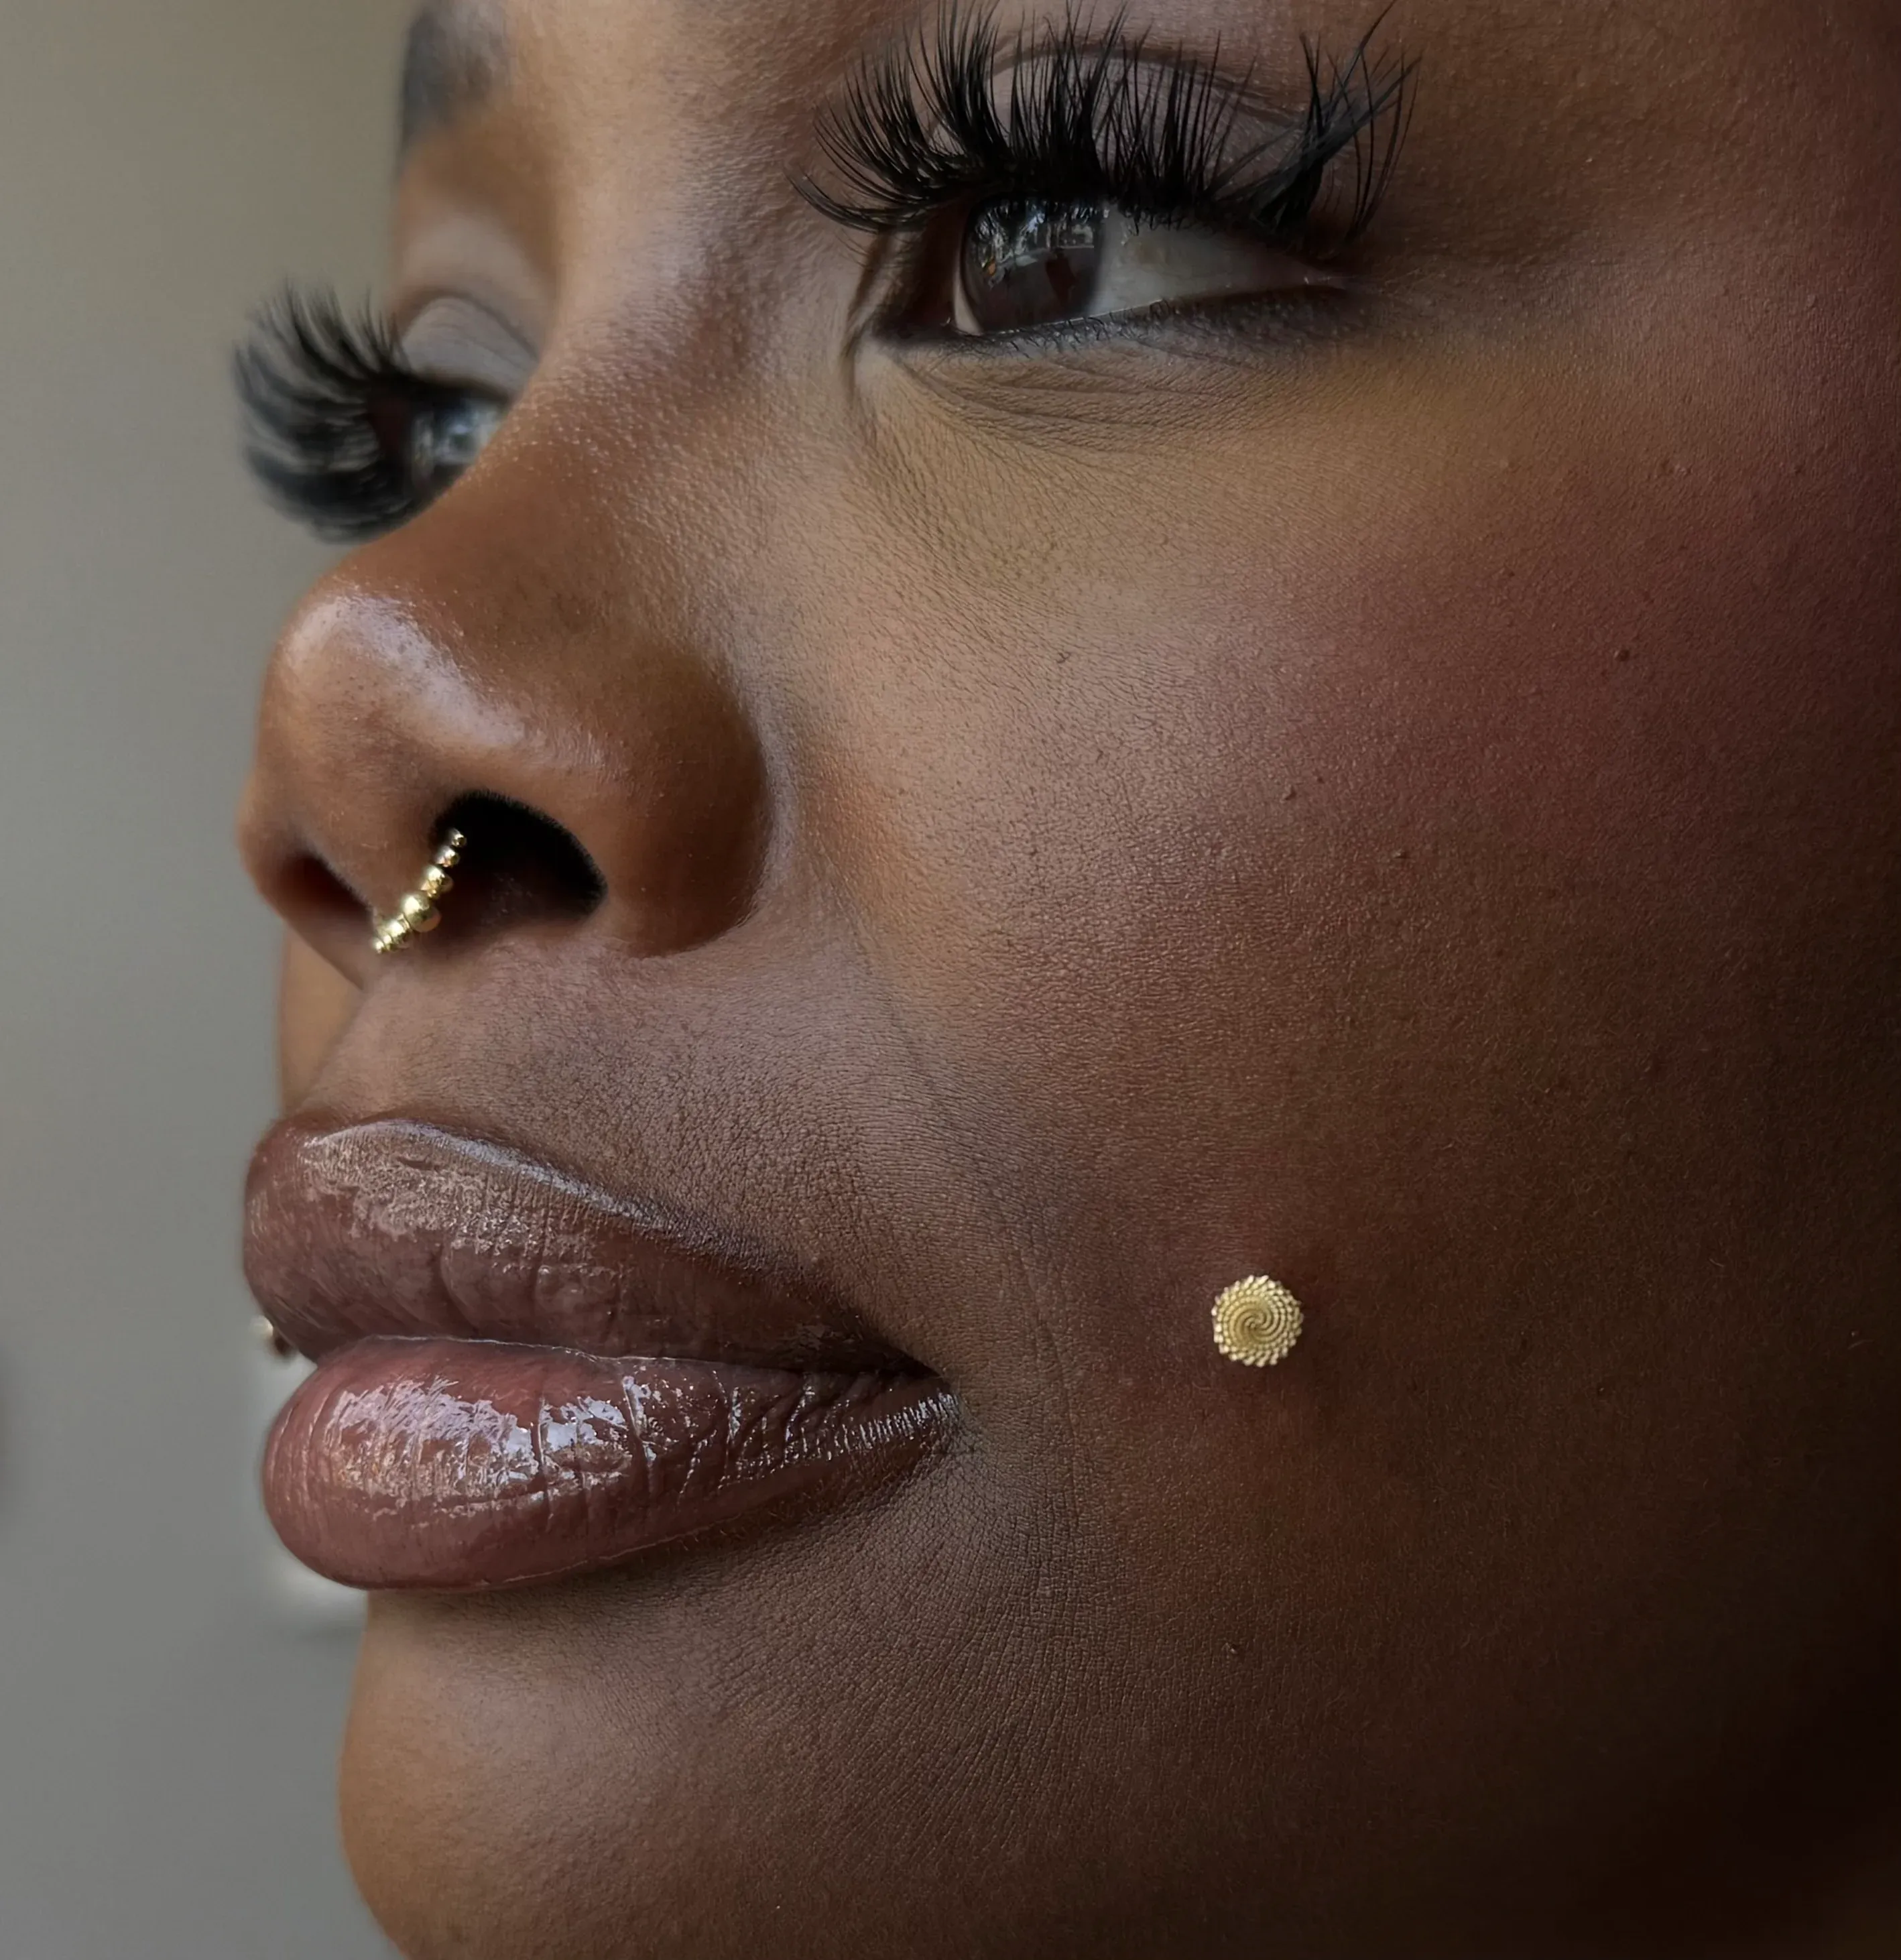
Critical Piercing Care Mistakes to Avoid
Most recovery issues our artists see stem from well-intentioned over-care or bad habits. Reviewing these common piercing care mistakes will keep your recovery clean and pain-free.
1. Twisting or Rotating the Jewelry
An outdated myth claims you must rotate jewelry to prevent it from sticking to skin. It won't stick. Twisting tears the forming internal lining, drags dry crusties inside the raw channel, and introduces bacteria from your fingers directly into your bloodstream. Leave it completely still.
2. Using Harsh Antiseptics
Never apply rubbing alcohol, hydrogen peroxide, Bactine, witch hazel, or tea tree oil to a healing piercing. These harsh chemicals scorch living cells, dry out the skin, prolong inflammation, and frequently cause severe contact dermatitis.
3. Delaying Your Downsize Appointment
Initial jewelry is deliberately long to accommodate early inflammatory swelling. Once that swelling subsides (usually weeks 2 to 6), that extra length becomes a hazard. Long posts snag on hair, catch on shirts, and tilt sideways under pressure. Schedule a check-in or downsizing session so our expert piercers can swap long initial posts for snugly fitted flat-backs.
How Does Jewelry Quality Dictate Healing Success?
You can't successfully heal a piercing using poor-quality metals. Cheap jewelry containing nickel, zinc, or mystery alloys oxidizes inside human tissue, causing allergic reactions, weeping skin, and tissue rejection.
| Material Type | Biocompatibility Status | Healing Impact |
|---|---|---|
| Implant-Grade Titanium | Highest standard (ASTM F-136) | Zero nickel; zero corrosion; fastest fistula formation. |
| Solid 14k/18k Gold | Excellent (Nickel-Free alloys) | Biocompatible and durable; elegant long-term wear. |
| Mystery Metals / "Surgical" Steel | Unregulated; high nickel trace | Triggers localized dermatitis, chronic bumps, and rejection. |
At Club Tattoo, we uphold an uncompromised standard for jewelry safety and material biocompatibility. We strictly refuse low-grade mystery metals, mystery alloys, or externally threaded jewelry, choosing instead non-porous, corrosion-resistant materials—such as ASTM F-136 implant-grade titanium and solid 14k/18k gold—for every fresh placement.
Pairing solid materials with threadless labret posts (press-fit jewelry) eliminates sharp mechanical threads that scratch interior tissue during insertion, ensuring your skin has the cleanest environment possible to heal smoothly.
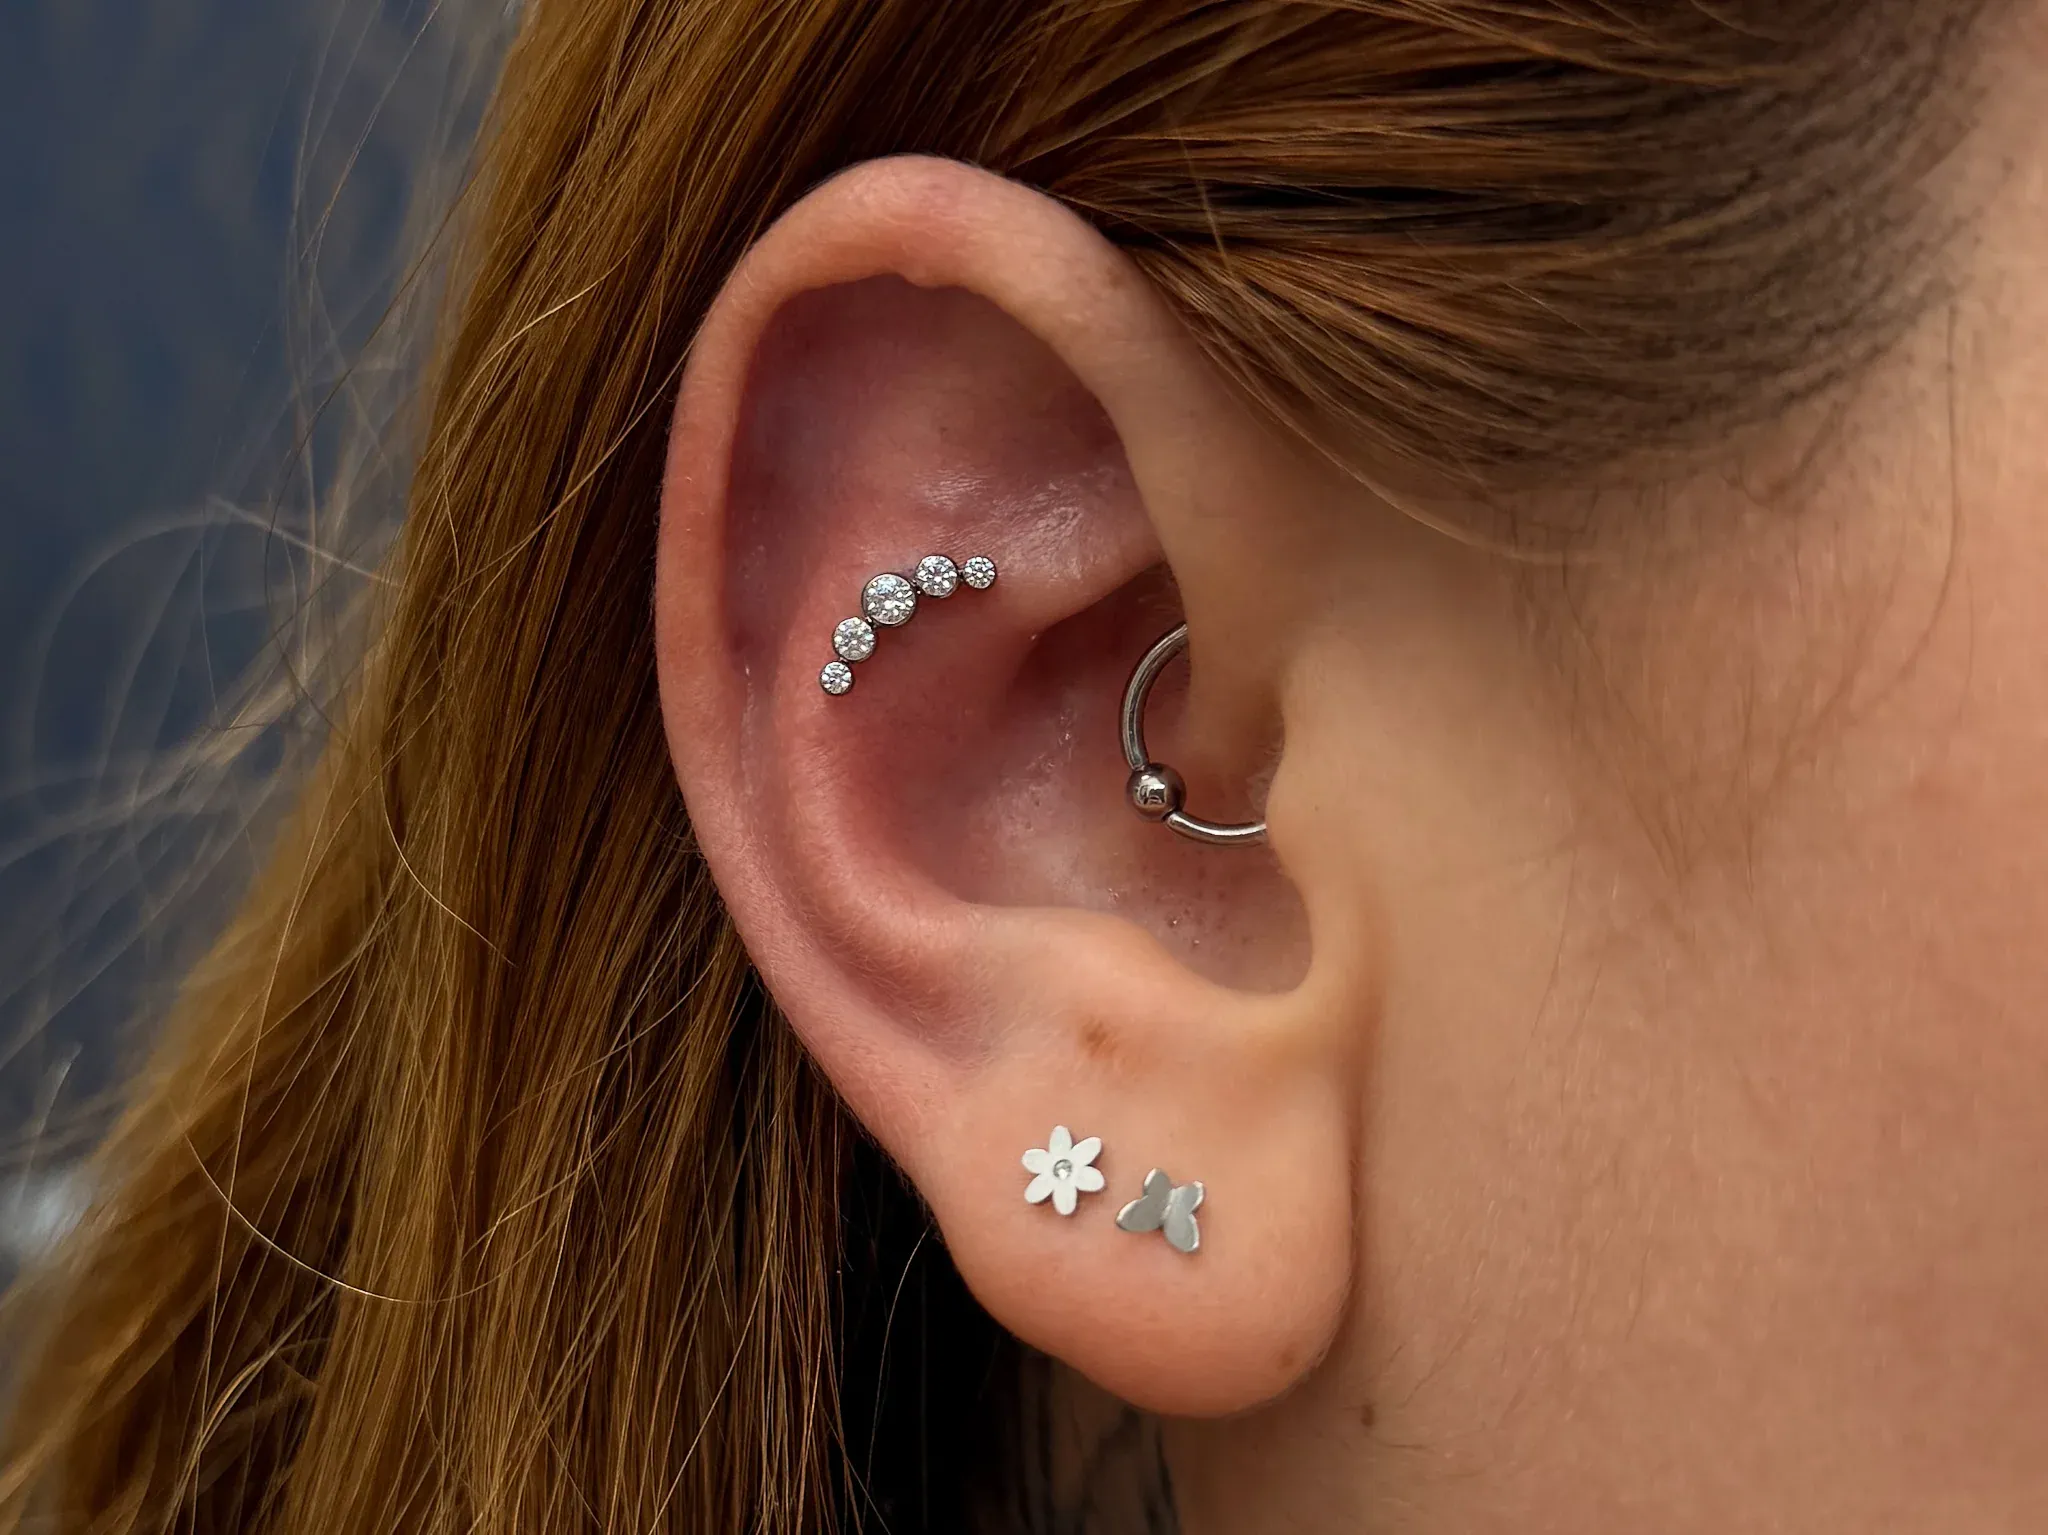
Start Your Next Body Art Journey
Successful recovery comes down to three things: a clean initial piercing, high-grade biocompatible metal, and letting your body do its job without interference. If you ever run into a stubborn bump or feel unsure about your healing progress, skip the forum guesswork and let our team take a look.
Explore our professional body piercing offerings at Club Tattoo or book an online piercing appointment to discuss custom placements, check healing progress, or downsize your posts safely.
Frequently Asked Questions
How do I know if my piercing is infected or just irritated?
Irritation is localized, causing mild redness, slight swelling, and clear or pale yellow fluid. Infection is systemic. Symptoms include intense throbbing pain, radiating heat, severe dark redness, dark green or dark yellow pus with a foul odor, and systemic signs like a fever or swollen lymph nodes. If you suspect an infection, leave your jewelry in to allow drainage and consult a medical professional immediately.
When is it safe to downsize my post?
Most soft tissue piercings can be downsized in 2 to 4 weeks, while cartilage piercings typically require 4 to 8 weeks before changing the post length. Always let our piercers evaluate swelling levels and perform the downsize using sterile tools.
Can I swim with a healing piercing?
No. Avoid submerging fresh piercings in lakes, oceans, pools, or hot tubs for at least 8 to 12 weeks. Natural water sources harbor bacteria, while chemically treated pool water causes severe chemical burns on raw internal tissue. If water exposure is unavoidable, cover the piercing completely with a waterproof seal adhesive bandage.
The information provided in this article is for educational purposes only and should not be taken as professional medical advice. While proper care supports an optimal recovery path, individual biology and skin responses vary. If you suspect an infection or experience severe symptoms, consult a licensed healthcare professional immediately.